
Ceres
Ceres has been the most educational object to process thus far. The input images are the same as the Jupiter detection input images, but the processing was way more critical for this detection than it was for Jupiter. Ceres really helped extend my toolset and ability to detect fainter sources in general. I had to develop some neat new tools like brightness matching to handle more subtle difference image signals that resulted from input images with significantly different relative brightness levels.
This detection also comes after the LSST Project & Community Workshop which I attended in August (as maybe the only unaffiliated amateur?). I learned a lot of terminology in the Solar System object detection domain along with some very helpful concepts I can use to further this project. For example, I learned that the LSST pipeline uses a difference then threshold method for difference image creation whereas I had been using a threshold then difference method. The LSST technique makes more sense as it results in a better behaved distribution of values in the resulting difference image and is what I am doing in this analysis and going forward. This was just one of many practical takeaways from the meeting. Anyway, below is the documentation of my Ceres detection from an AllSky camera.
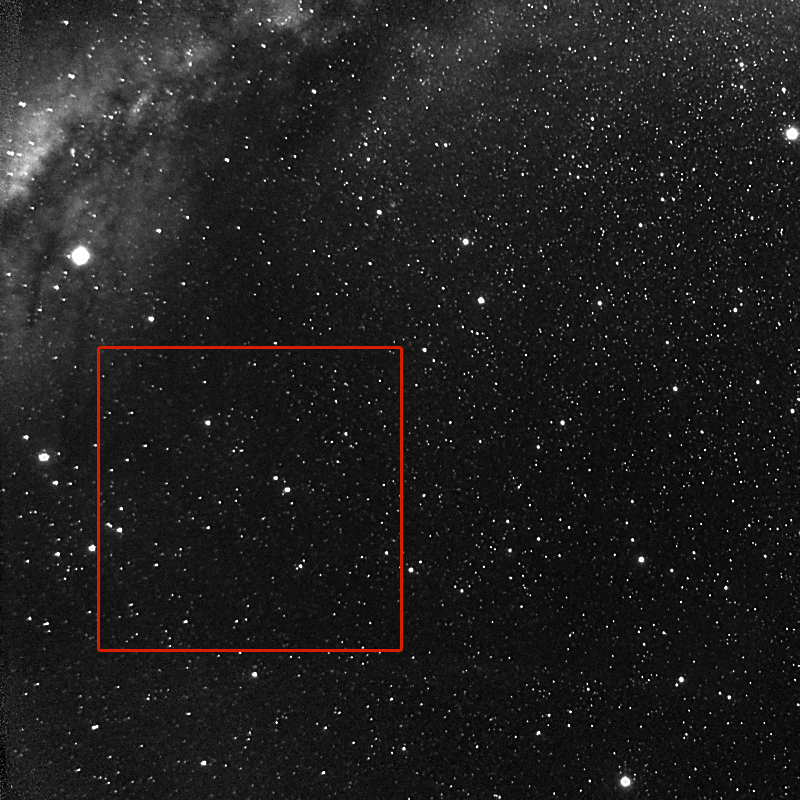
1. The starting point for finding Ceres is to crop out Jupiter (the large moving blob) in the original two observations. Ceres is small and faint in these images and Jupiter's size and brightness overwhelms the difference thresholding. These images are the aligned image set 1 images from my previous Jupiter solution with a PSF deconvolution applied. The area investigated in the rest of this process is the crop within the red box.
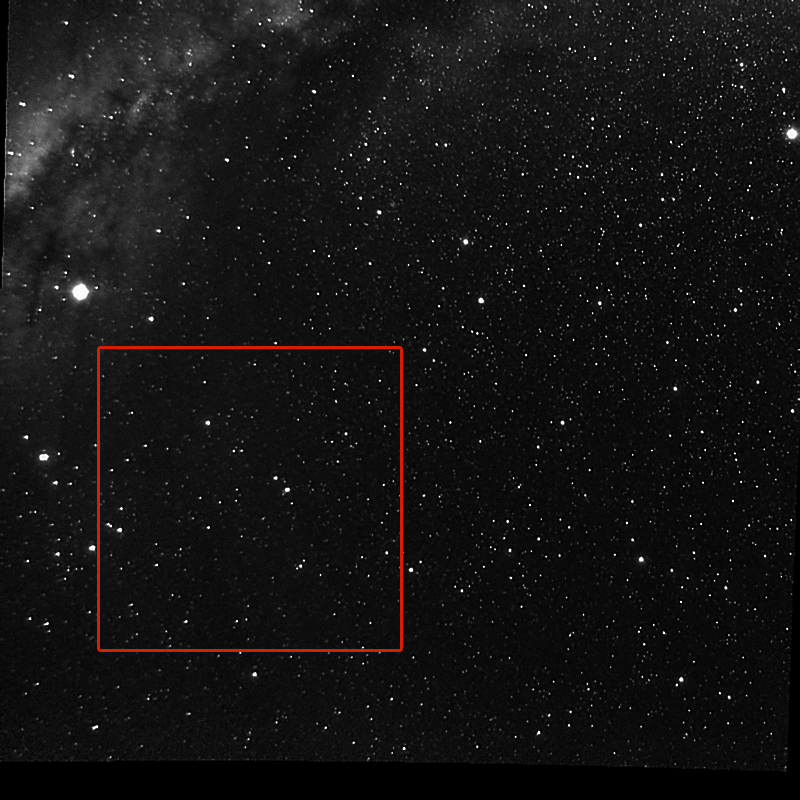
2. Here's the red box crop from image set 1 with brightness matching applied to the dimmer frame. Notice the difference in brightness between the two frames in image set 1 compared to the difference here. The static sky template is generated from these two frames. Click and hold the frames above to see the static sky template.
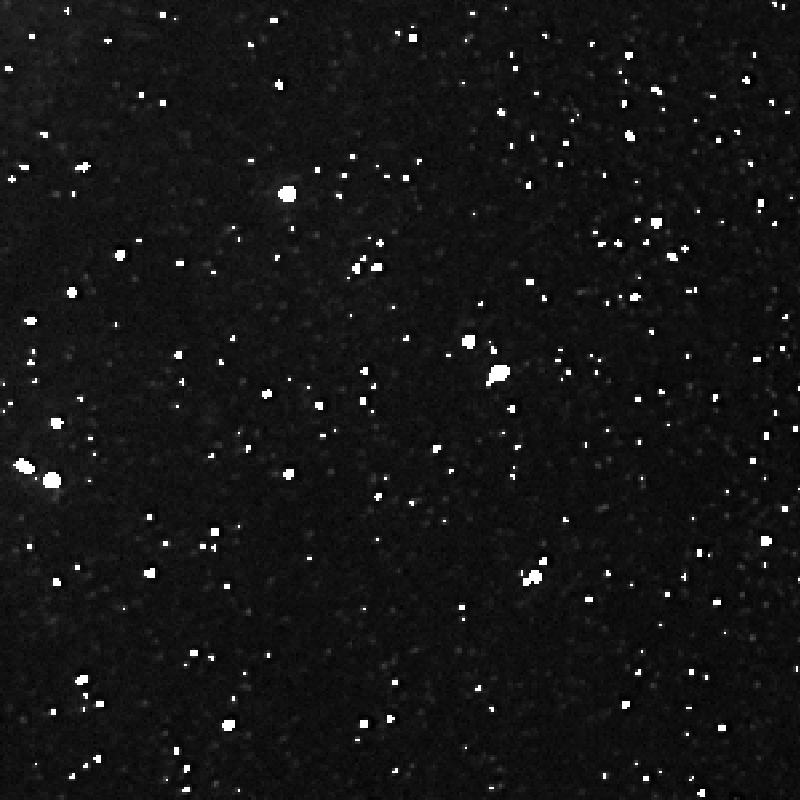
3. Static sky template differenced frames [image set 2 frames - static sky template] with a 5σ threshold applied. Object blobs with a contiguous pixel count of 2 or less are removed. Linkable moving objects are in red.
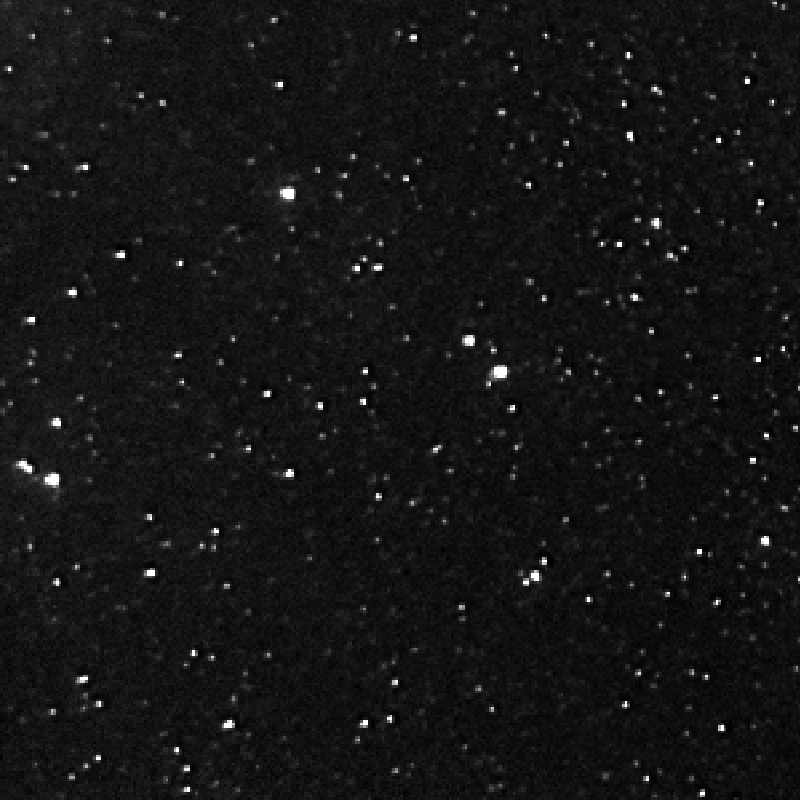
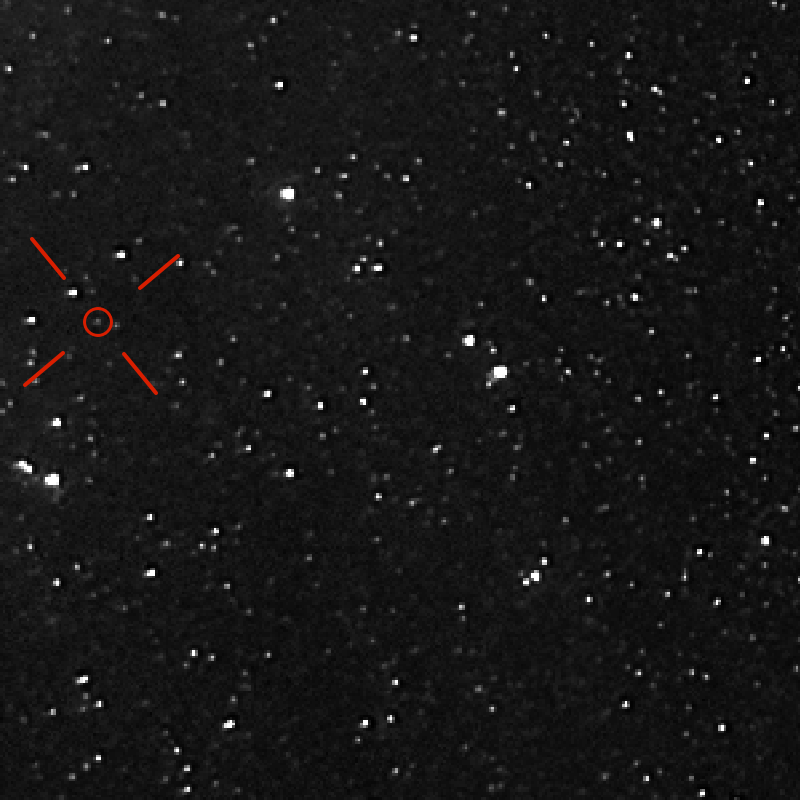
4. Linked object detection translated back onto the frames from image set 2. That's Ceres motion over 27 days.
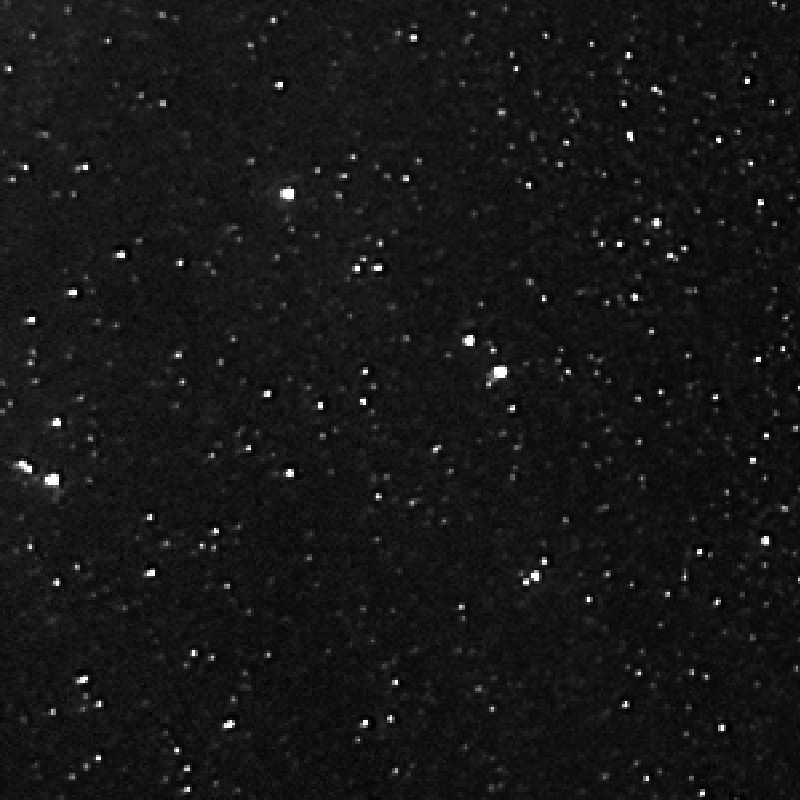
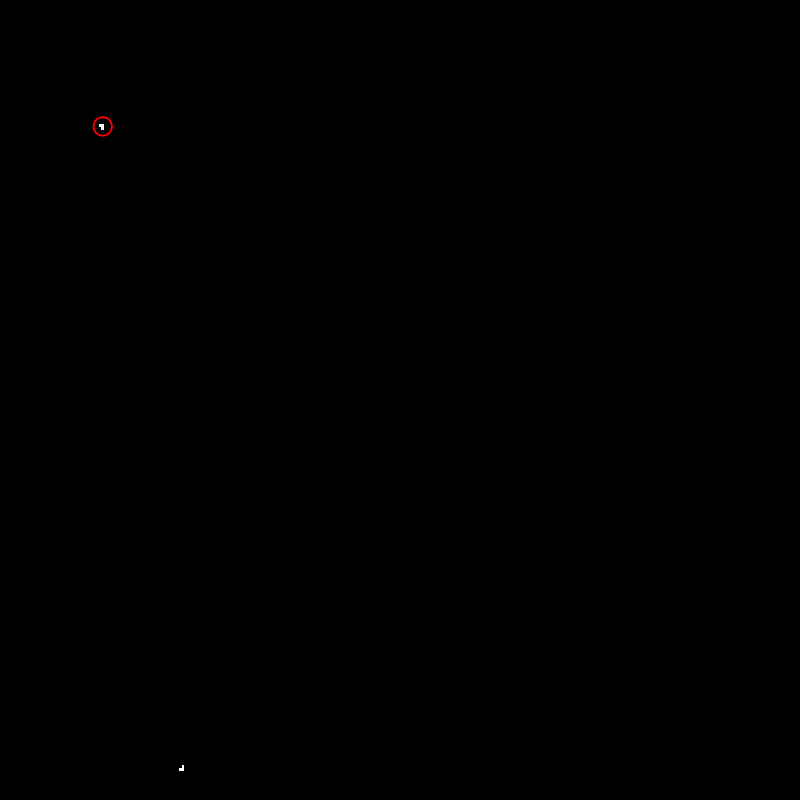
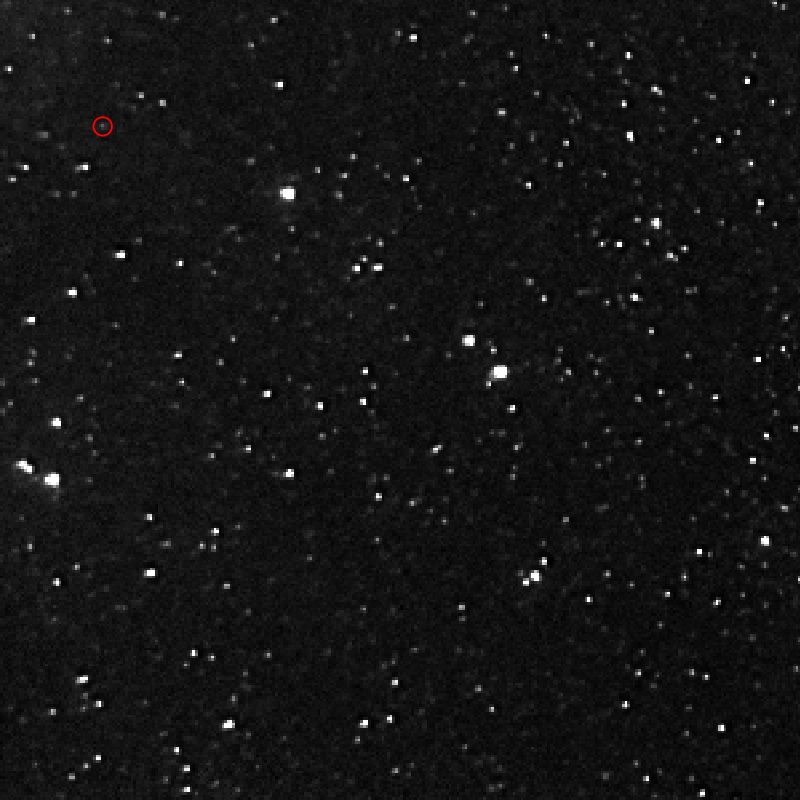
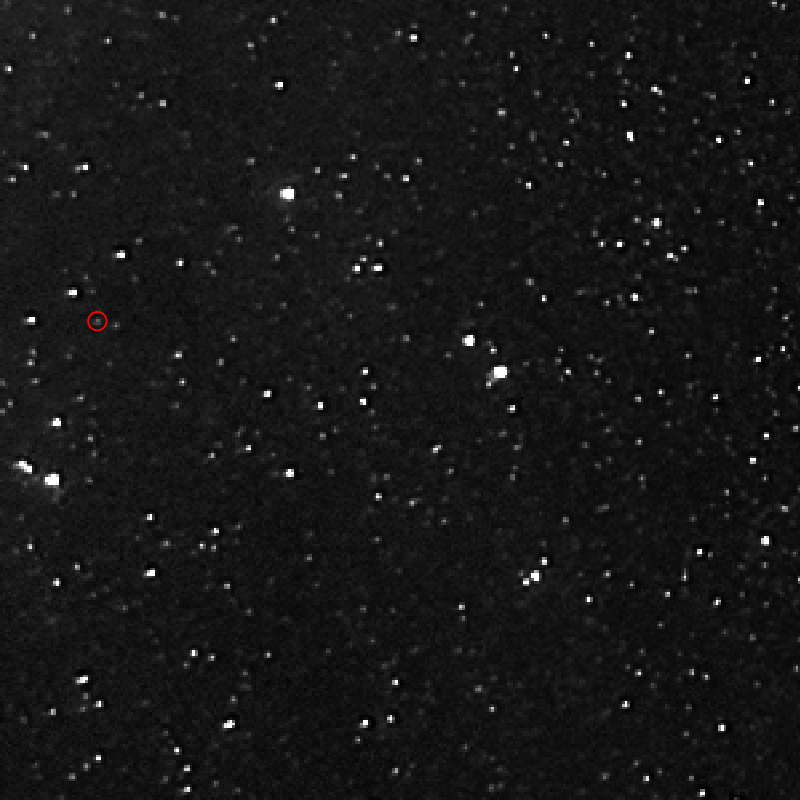
5. I've tried to duplicate the Stellarium crosshair here on one of the Ceres frames. The 3 star belt northwest of Ceres (circled) is the most apparent feature in Stellarium in image set 6.
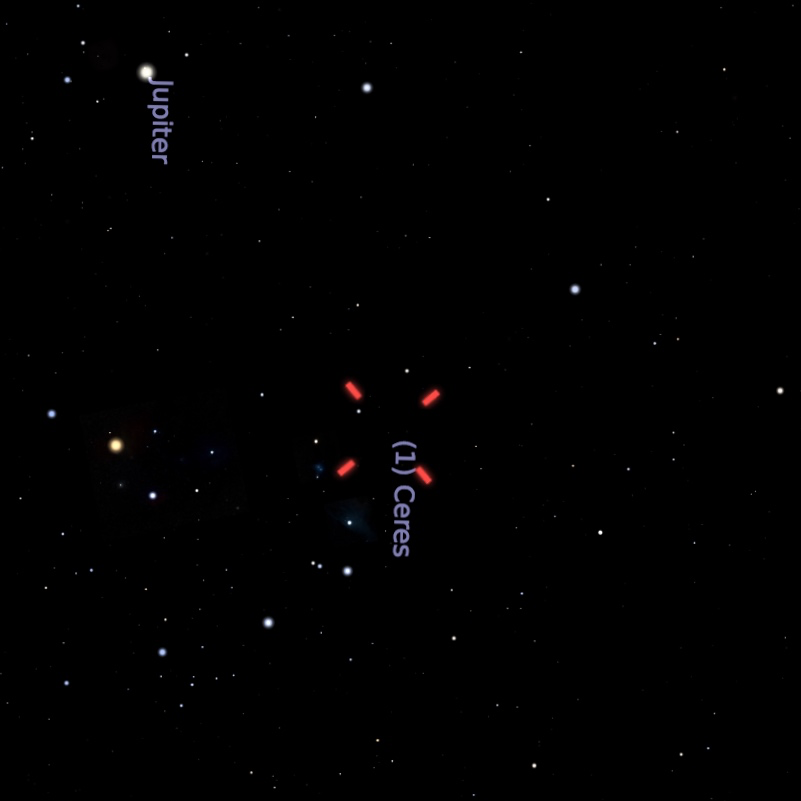
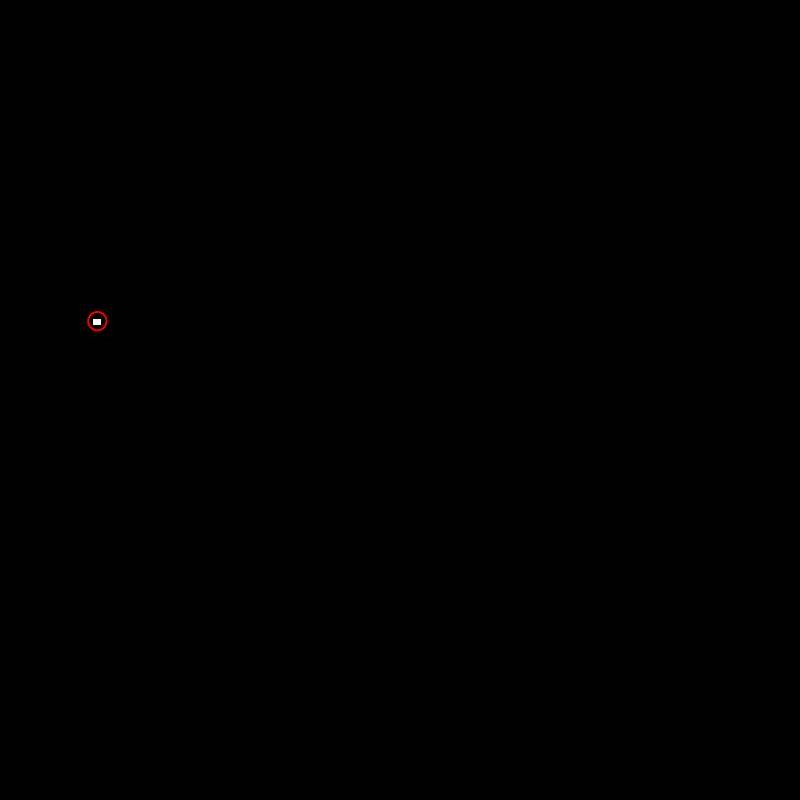
6. Stellarium position of Ceres on 5/28/2019. I rotated the image to represent the perspective in image set 5 thus the vertical labeling.
Process notes:
Most of the process enhancements below were implemented specifically to detect Ceres. I used almost all of these techniques for Jupiter too, but they weren't required in that case. I'll reiterate these new techniques even though most were mentioned previously for Jupiter.
- Stacked input images: Instead of working from individual images on a single night, I registered and integrated multiple images over one night to create a super frame with less noise. This becomes increasingly important as sources get dimmer and become difficult to distinguish from noise. Ceres had an apparent magnitude of 7.6 for this observation which is dimmer the naked-eye observable threshold of ~6.5 (higher is dimmer). It's the dimmest object I've found thus far.
- PSF Deconvolution: This is standard practice, but I didn't really need to do it for any prior analysis I've done. It definitely helps to resolve Ceres to a point source.
- Registration non-overlapping region mask: It was lazy to not do this before now. I just masked the empty space that is produced when you register multiple images to a reference image. This way you're not differencing images against non-overlapping spaces (typically border regions). There aren't any borders like this for Ceres, since it's from a crop of aligned images, but it's still part of the process now.
- Brightness matching: Because images from different nights can look different based on ambient lighting conditions (moon, clouds, city lights), I tried to create a tool that would minimize the RMS brightness difference via a two step process that handles the bimodal nature of star field images. It worked great for Jupiter and it works great here.
- Template image clipping: I don't care about differences in source brightness, so I started thresholding and clipping the template image to make sure that any bright source is fully removed when differenced against a frame. Less bright regions of the template are still preserved as intermediate values, but bright stationary sources are effectively masked with this process even if their brightness varies. Here's what the static sky template looks like.
- Small object removal: I was using median filtering to attempt to remove salt and pepper type noise in difference images, but scikit-image has a really useful function called remove_small_objects() that does what it says. You specify the minimum number of contiguous pixels you want to preserve and it will remove all objects smaller than that. It's great for removing noise and preserving bigger blocks of signal.
- Static sky template visualization: I had the idea to implement that click and hold static sky template viewer in image set 2 while writing up this document. The template is such a vital piece of the process, but I wasn't sure where to put it in an analysis filled with animations. Since the image set 2 frames are the input data for template generation it seemed like the perfect place to make a clickable interaction. You can actually see what registers and what doesn't by flipping back and forth which is really useful.
Ideas/Todos:
- The long promised process document. It's probably next on my list. I need this whole process outlined from start to finish rather than just noting the new bits with each detection or else I'm going to start forgetting what I'm doing.
- I'm thinking of using TESS images to find moving objects. I need to explore the viability of that idea more still.
Published: 9/29/2019